Another run out for this, after indulging not all that long ago in truth (linked at the bottom).
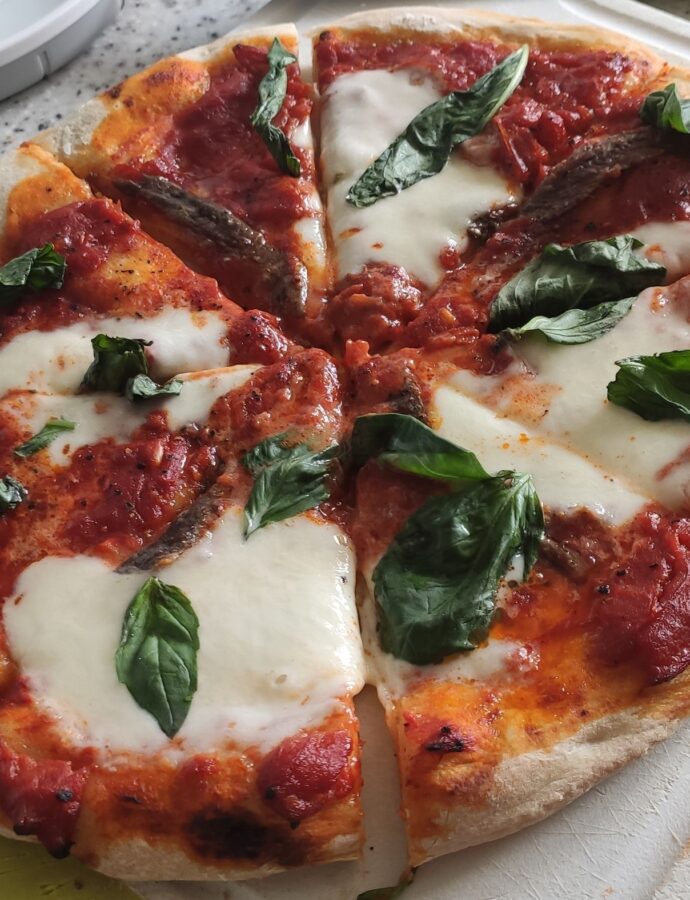
I searched around for more specific instructions from the same chef this time, only it’s a truly irritating website with ad-block-block and an inability to copy, so I took matters into my own hands, making adjustments as I saw fit as well as to make it less pretentious. This is a great recipe, leaving it for the long proving adds wonderful flavour. Tried today with anchovies. I want to state though that authentic though this may be, it’s not a replacement for doughy, cheesy takeaway pizza, which is amazing and almost an entirely different food.
Ingredients
- 1l water
- 1.6kg strong flour (possibly 00 flour)
- 50g salt
- 2g dry yeast
- 20g sugar
- 50g olive oil
01 – Place half the Flour on the left side of your bowl.
02 – Pour all the Water on the right side.
03 – Gently dissolve the Sea Salt in the Water.
04 – Add the Yeast into the Flour by crumbling it with your fingers, or adding the sachet of instant yeast.
05 – Slowly start mixing everything.
06 – Add the sugar while mixing the dough.
07 – Then add the oil also before all the flour is added, while the mixture is still wet.
08 – Slowly add the remaining flour to make the dough “solid”.
09 – Knead the Dough with your hands and then only using the pressure of your fists fold it multiple times. This should take you about 15 minutes. Or use a mixer for about 5 minutes until the dough is not sticky and ideally comes away from the dough hook.
10 – Move the Dough back in your container and cover with cling film or a clean kitchen tower, and let it rest for at least 2 hours at room temperature 25C.
11 – Cut the Dough into portions of 250g.
12 – Place the Dough balls in a large container, cover with cling film and let it rest for an extra 6 hours.
13 – Move the Dough on a floured counter and put some flour on top of the Dough, and start spreading out the Dough to a 20cm diameter disk.
14 – Using a spoon place 60-80g of pressed, Peeled Tomatoes, or Chopped Fesh Cherry Tomatoes in to the centre of the pizza base, then using a spiraling motion, cover the entire surface of the base with the sauce. Note, the previous sentence is a pretty accurate representation of what authentic recipes tend to recommend. I’m sure it’s fine, but I always spruce it up a little with some finely chopped onion or garlic, sautéed then cooked with chopped tomatoes to produce a slightly richer sauce.
15 – Add Salt on the surface of the Tomato Sauce.
16 – Put some fresh Basil Leaves over the Sauce. Note, I disagree with this, indeed their own pictures disagree with this as the basil is clearly visible as a last minute addition before serving. Adding to the oven is a waste of basil, unless it’s for no more than a minute.
17 – Spread 80-100g Mozzarella over the Tomato Sauce. Note, I also disagree with this. The mozzarella should be added after about 5 or 6 minutes, up to 8 (which is what I did for this pizza) depending on how you like the texture, but I feel this was not quite enough. This mid point also gives you a chance to add more sauce if required. This step is obviously not necessary in a wood0fired oven, but who has one of those?
18 – Using a spiral motion starting from the centre and moving out, pour 10g of Extra Virgin Olive Oil.
19 – Bake for 15-20 minutes at 240C if you’re using a regular oven, or at 485C for 60-90 seconds in a wood fired oven. Serve hot. Note, I found no more than 15 was required, and check after 12.
The first phase: remove the dough from the mixer, and place it on a surface in the pizzeria where it can be left to rest for 2 hours, covered from a damp cloth. In this manner, the dough’s surface cannot become harden, nor can it form a crust from the evaporation of the moisture released from the dough. The dough is left for the 2 hours rising in the form of a ball, which must be made by the pizzaiolo exclusively by hand.
With the aid of a spatula, cut from the mixture into smaller portions, which are then shaped onto a ball. For “Pizza Napoletana”, the dough balls must weigh between the 180 and the 250 g.
The second phase of the dough rising: Once the individual dough balls are formed, they are left in “rising boxes” for a second rising, which lasts from 4 to 6 hours. By controlling storage temperature, these dough balls can then be used at any time within the following 6 hours.
Also see the following for a slightly inferior creation:
